
[ad_1]
A well-optimized checkout page can help increase the chance of sales. It also enhances the overall user experience. This is the most important part where the transaction occurs and you get paid. So you have to make the buyer’s journey as smooth as possible.
WooCommerce has built-in functionality in e-commerce that contains a shop page, cart page, checkout page, and everything you need to build a website on WordPress. To make the e-commerce journey more convenient you have to focus on some important parts of your e-commerce site.
In this blog, we’ll discuss why an optimized checkout is necessary and how to achieve this easily.
Why Customize the Checkout Page
There is no alternative to a user-friendly checkout page. WooCommerce lets you create a checkout page for your store. The default checkout is good but you need to do a test for a higher conversion rate. Also, you have to think about the abundant rate. Based on research shows that the rate of checkout abandonment rate is almost 70%.
It is a matter of question to think about your website checkout process. The majority of the visitors purchase from a website that is user-friendly and has a simple checkout process.
Importance of a Custom Checkout Page in WooCommerce
The checkout page is the final part of a customer journey. If this is not configured or designed accordingly there will be no result. Ultimately your customers will leave your site and he will not purchase from your site again. As a result, this will lead you to a loss.
Necessary Plugins
Now you may wonder how to create and customize a WooCommerce checkout page. There are some available plugins on the WordPress repository to customize the default WooCommerce checkout page. With the WooCommerce plugin, you require
- Elementor
- CoDesigner and,
- CoDesigner Pro
Introducing CoDesigner and CoDesigner Features
CoDesigner is one of the top Elementor add-ons. It helps you create and customize every part of WooCommerce including the Shop page, Cart page, Checkout page, and Single Product page. This plugin offers both free and Pro versions. Both of these versions provide highly customizable widgets and pre-made templates.
Features:
✔️ Access over 125+ pre-designed page and section templates
✔️ 90+ free and premium widgets
✔️ Compatible with WordPress popular themes
✔️ Enjoy real-time Live copy-paste functionality
✔️ WooCommerce Shop, Cart, Single Product, and Checkout Builder functionalities
✔️ Extensive customization capability
✔️ WooCommerce Customers Email Designers
How to Create a Custom WooCommerce Checkout Page
It is not that hard to create or customize a WooCommerce checkout page. For this, you have to follow some of the simple steps.
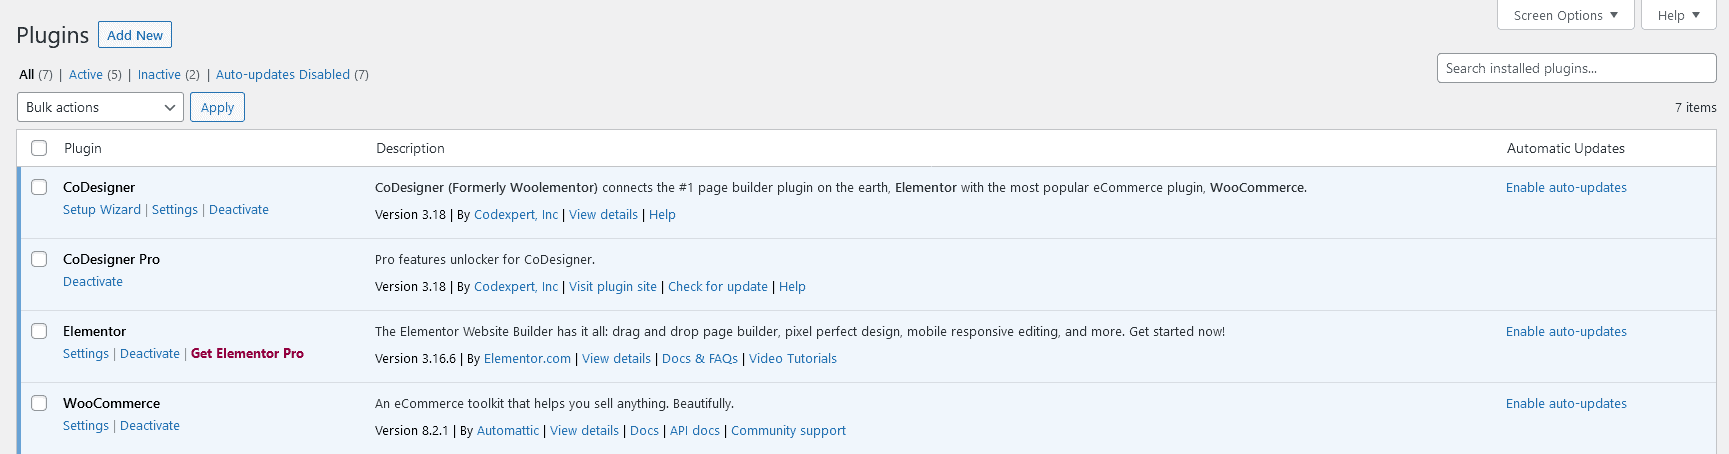
- First, make sure you have installed the WooCommerce, Elementor, CoDesigner, and CoDesigner Pro plugins on your WordPress website.
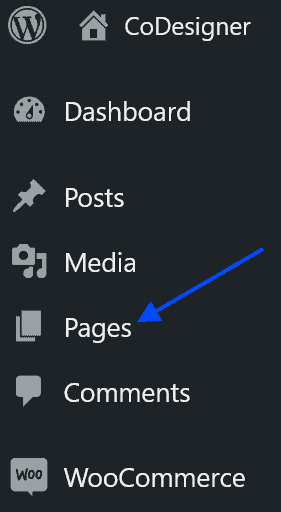
- After configuring all the settings of WooCommerce you have to go to your dashboard and click on the Page tab.
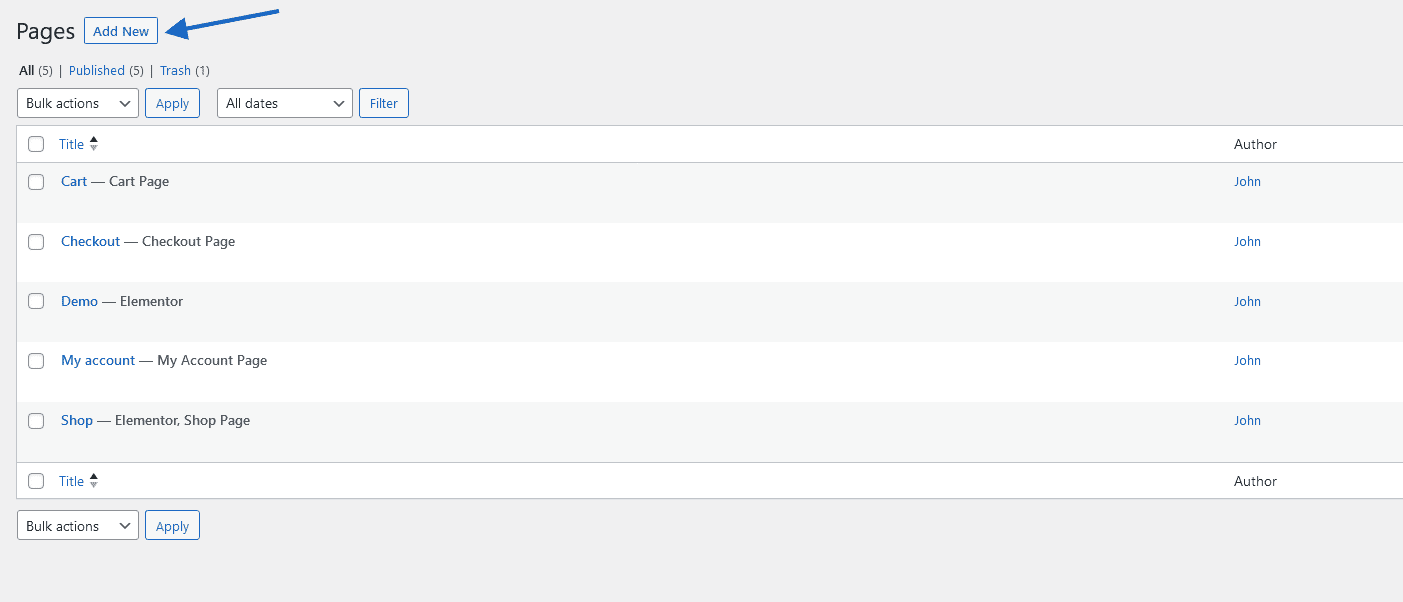
- Now you have to create a new page. Click on the Add New button on the site page and provide a title to your new page.
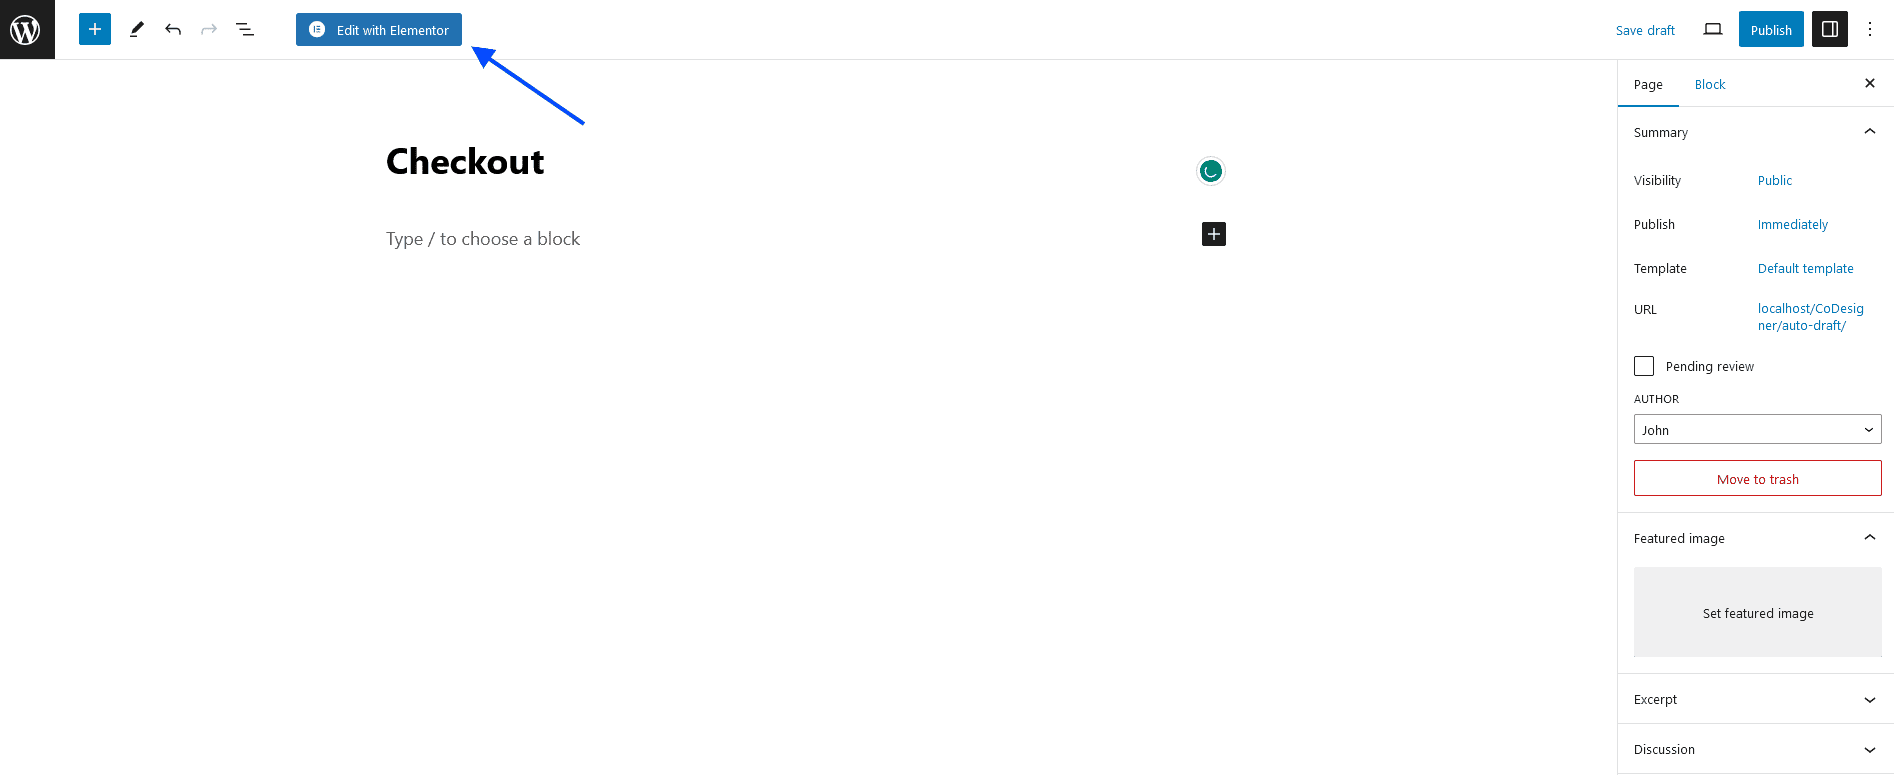
- After that, open the page on the Elementor editor.
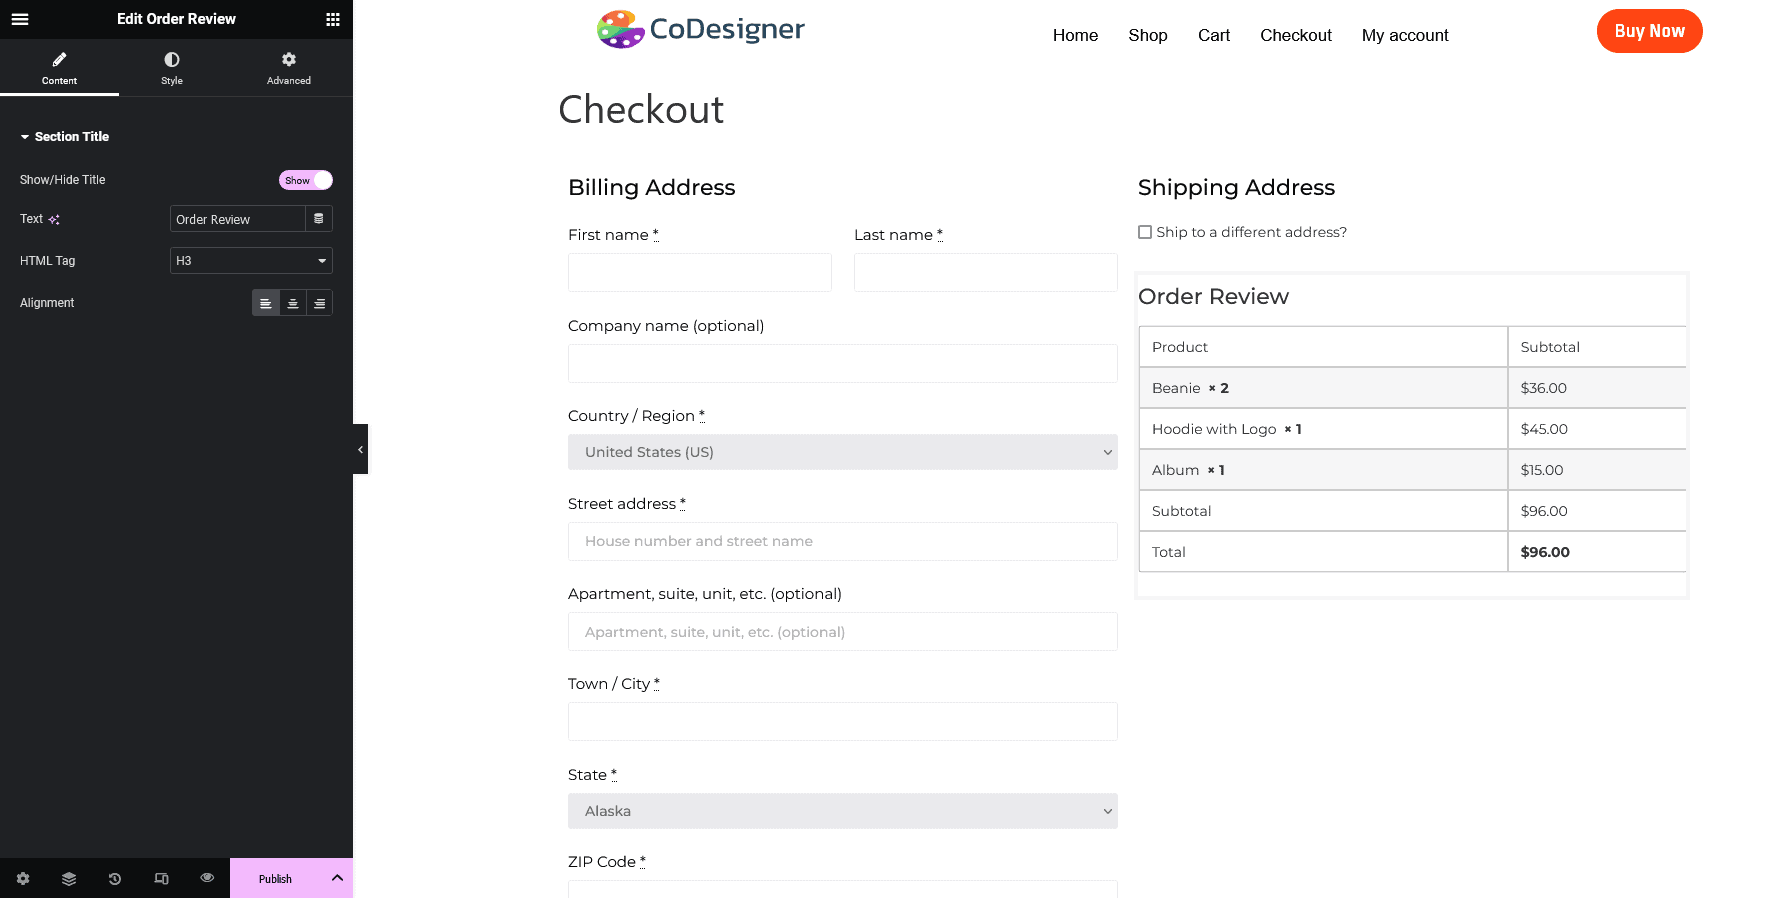
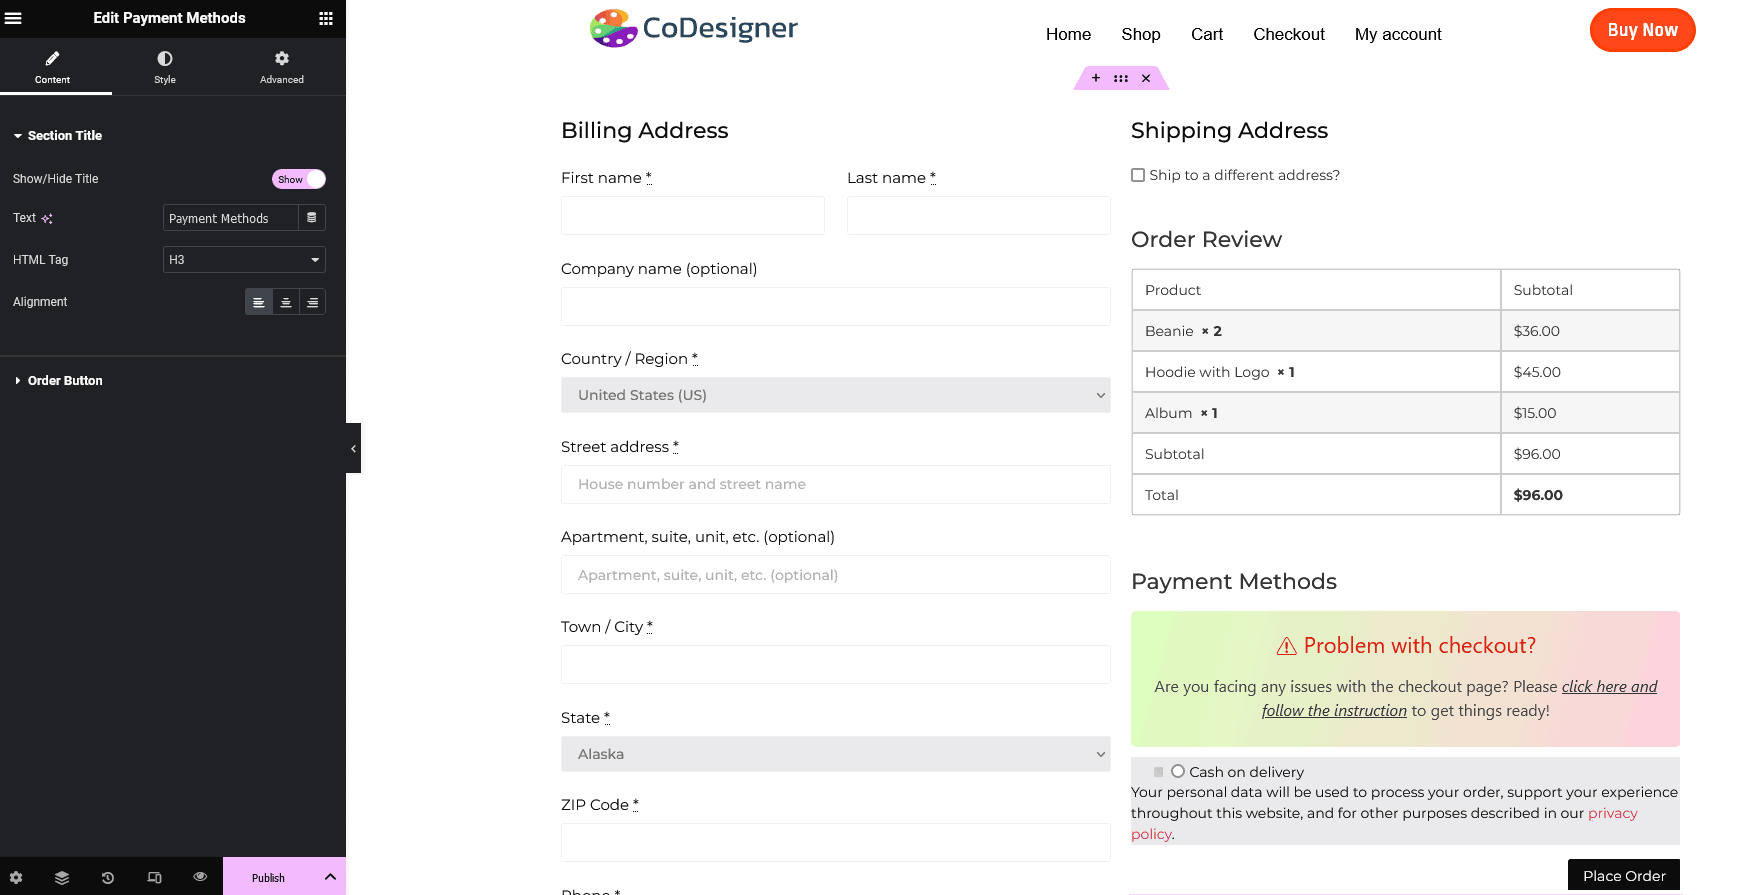
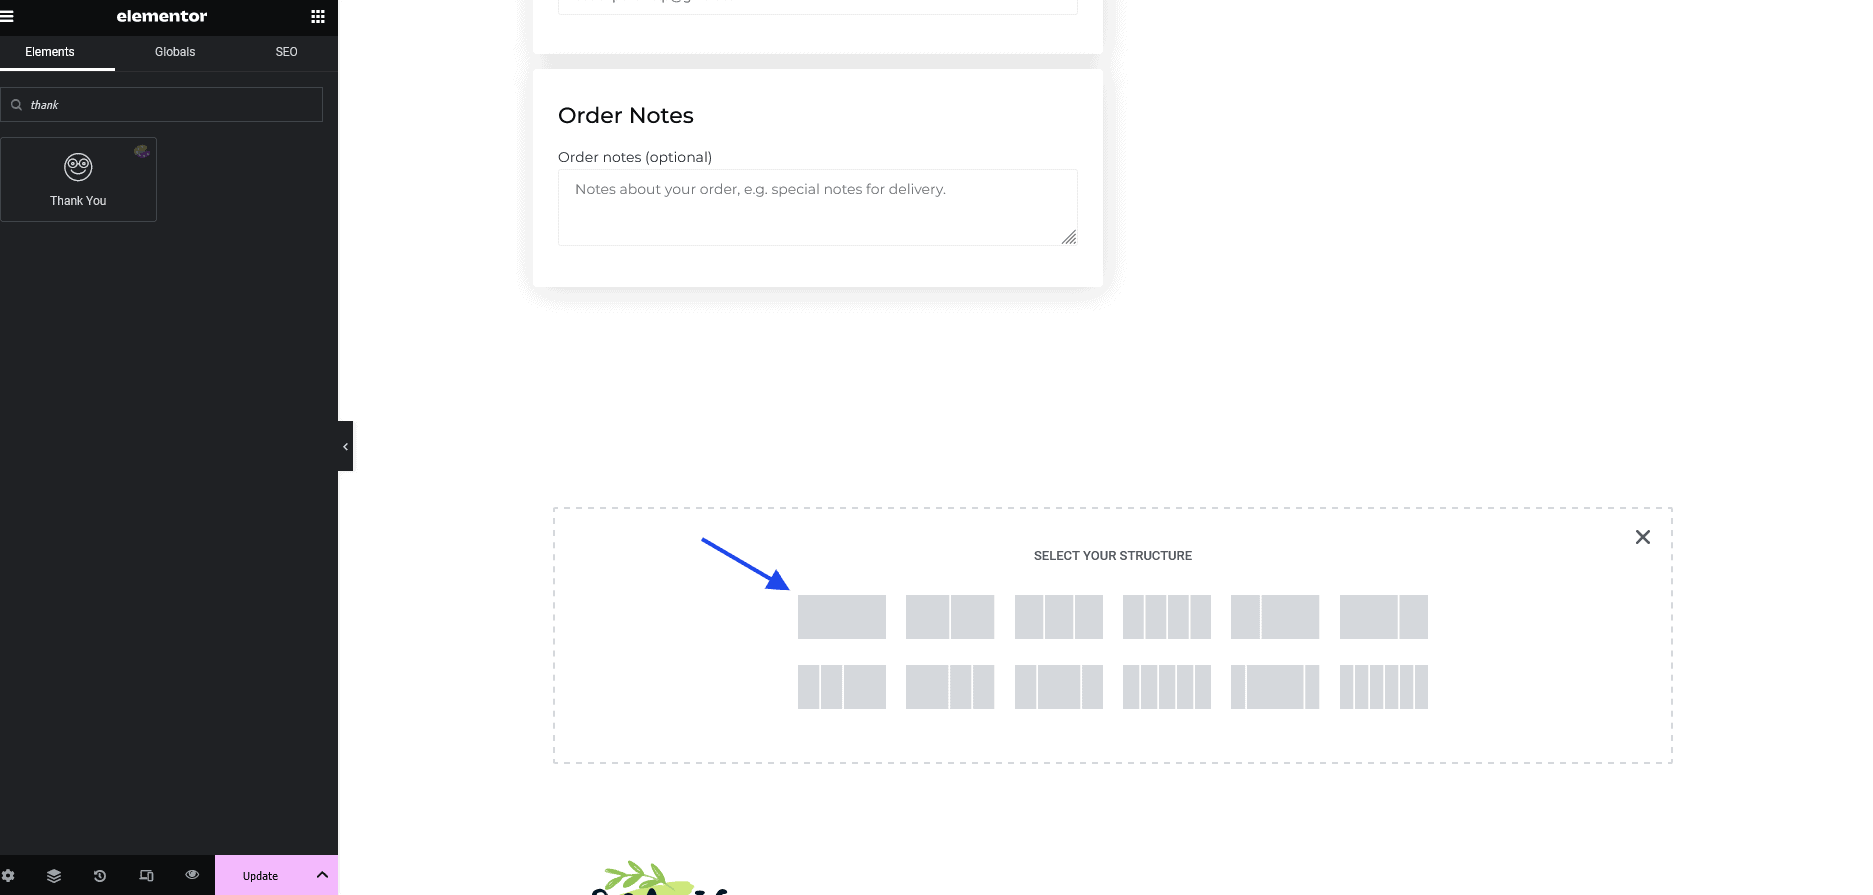
- On the editor page, You have to use the CoDesigner Checkout widgets on a new section
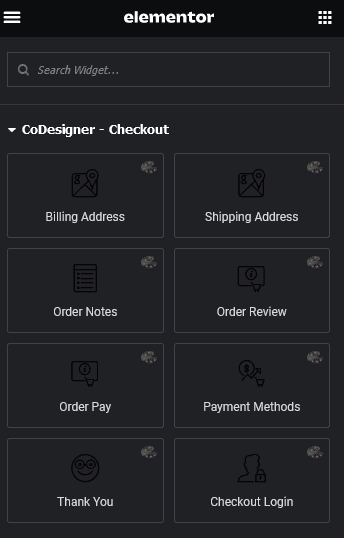
CoDesigner Checkout widgets at a glance-
- Billing Address
- Shipping Address
- Order Review
- Order Note
- Payment Methods
- Thank you Widgets
- Order pay widgets
- Checkout Login
These widgets will help you create a beautiful and stunning checkout page. To achieve it you have to:
- Drag the Billing and Shipping widgets into two separate sections
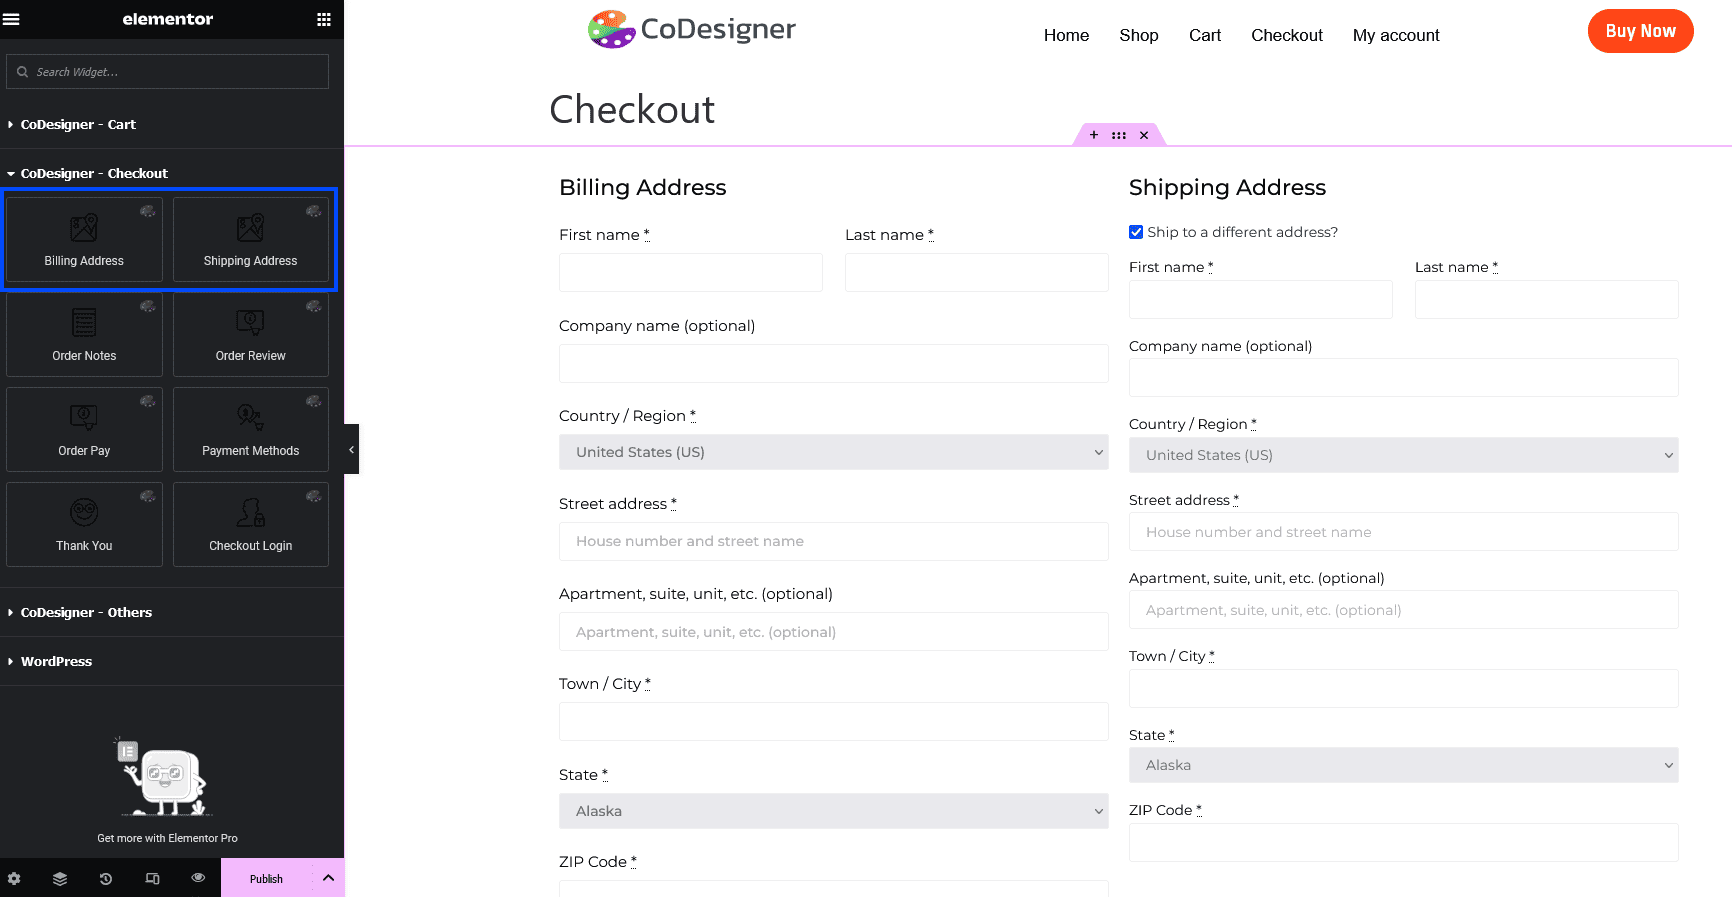
- Now you have to drag the Order review under the Shipping widget
- Finally, you have to insert the Payment Methods widget under the Order Review widget
Tips to Customize the Checkout Page
Now start with the tips to customize the checkout page. It’s all up to you which design you want to choose. But you have to do some user research. By doing user research you will be able to know the pain points of your users. After detecting this, you can resolve it and make the checkout process more smooth. Here are some tips you can follow-
- Use a Minimal Design: When doing a checkout design make sure it is clean and simple. There are only a handful of elements. You need to make it clear that your customers don’t feel it is critical. Otherwise, they will leave without buying anything.
- Remove Unnecessary Fields: You need to arrange the form fields logically and in a user-friendly manner. Remove all the unnecessary fields to make the checkout process easier. In CoDesigner, you’ll be able to remove the additional field showing on your checkout.
- Multi-step Checkout or One-step checkout: Nowadays, most customers like step-by-step checkout. Different customers may prefer different approaches. But having these checkouts on your site can make your checkout process more user-friendly.
- Testing and Optimization: Continuously monitor the checkout process, and gather your customer’s feedback. With this data, you can make the checkout process even more optimized
After all the customization you have to publish your checkout page. If you haven’t set this as your site checkout page then go to WooCommerce – Settings – Advanced and set this checkout page as your default.
How to Show Thank You Message
You must set something for your customers that encourages them to come to your site and make another purchase. To make this happen, You can attach a Thank You message when your customers finally place the order. This will make a huge impact on your customers. In order to show the Thank You message-
- Go to the checkout page you have created and open it with Elementor editor
- You have to create a new separate section.
- After that drag the Thank You widget from the editor panel

- When the customization is completed, click on the section and enable Contains ThankYou

- Finally, click on the Update button
Now your customer will see the Thank You message after placing any orders.
How to Enable Order Pay
In the Same, you can create the Order Pay section. Order Pay is a useful solution for e-commerce site owners. If this is enabled on your site your customers can pay anytime if they forgot to pay for the order. If your customers visit back and look for the order they will easily find it in their accounts order tab. Even you can share the order link with your customers.
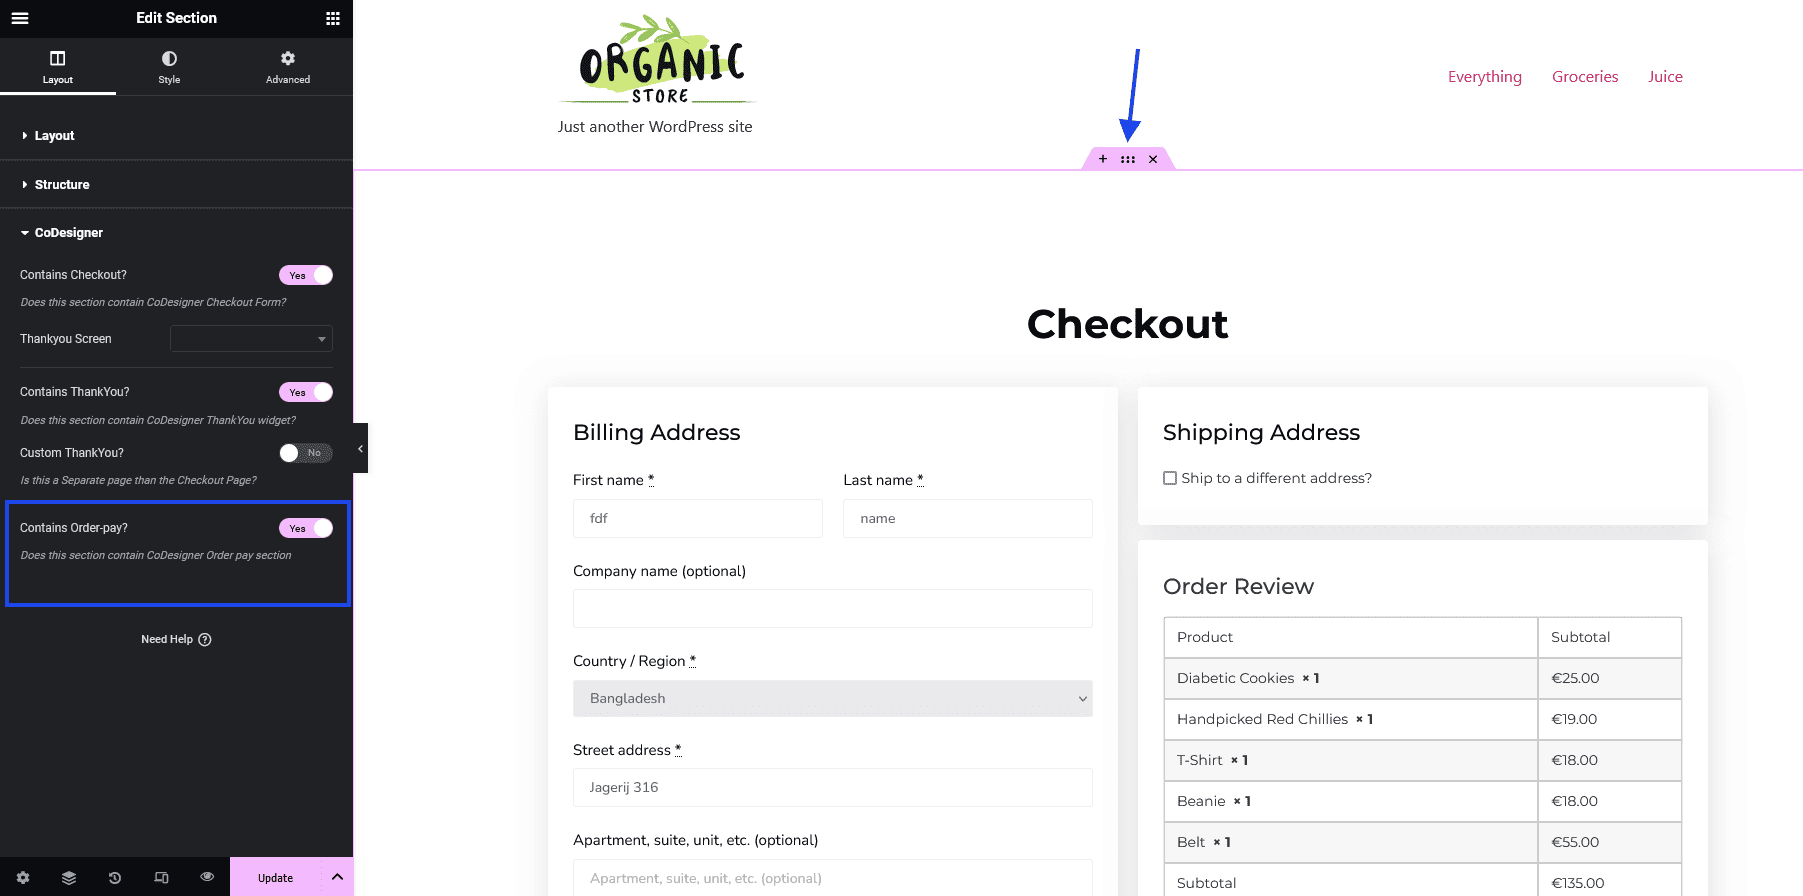
This Order Pay option can make a significant change to your site. Customers will feel more comfortable with their purchase journey.
Final Words
Day by day the e-commerce competition is increasing. To keep pace with it, you have to be more concerned about your customer journey and satisfaction. You have to take a close look at where your customers are having difficulties during this journey. Taking good care of these things can make a good e-commerce site and customers will enjoy purchasing from you.
Author Bio
Mustakim helps people with WordPress, business, SEO, and developments in his writings. Currently, he is developing a business for Pluggable. Developers and Web Designers can easily sell or purchase from this WordPress Plugin Marketplace.
[ad_2]


